Slow Cooker Ranch Potatoes
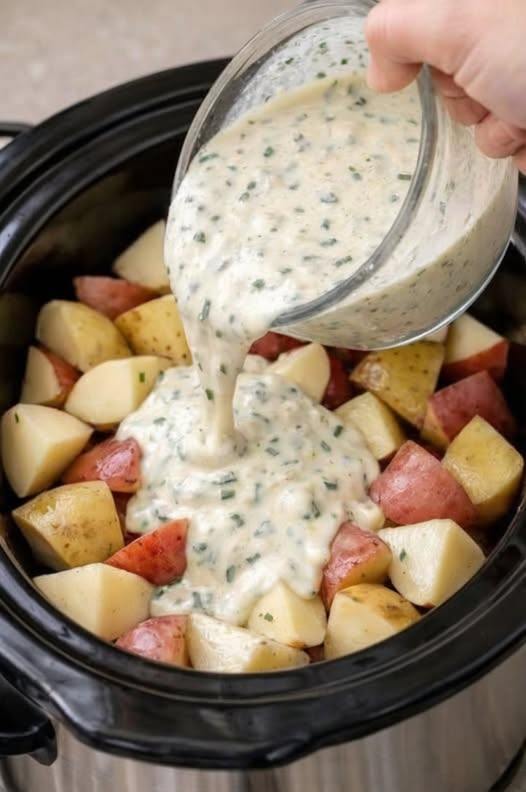
Introduction There’s nothing quite like the comforting aroma of potatoes slow-cooking in buttery ranch goodness wafting through your home. These Slow Cooker Ranch Potatoes are the epitome of easy, no-fuss …

Introduction There’s nothing quite like the comforting aroma of potatoes slow-cooking in buttery ranch goodness wafting through your home. These Slow Cooker Ranch Potatoes are the epitome of easy, no-fuss …

Introduction Gather around, friends! If you’re in the mood for a cozy, crowd-pleasing dish, look no further than this Slow Cooker Ranch Potato Party Bake. Bursting with creamy goodness and …
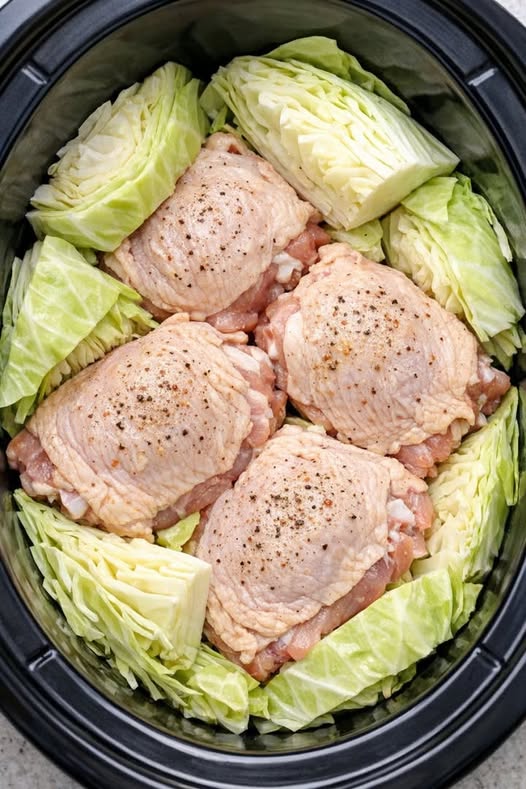
Introduction Looking for a comforting, effortless meal that will have your family clamoring for seconds? Look no further than this 4-Ingredient Slow Cooker Mom’s Weekend Chicken. This delightful dish combines …

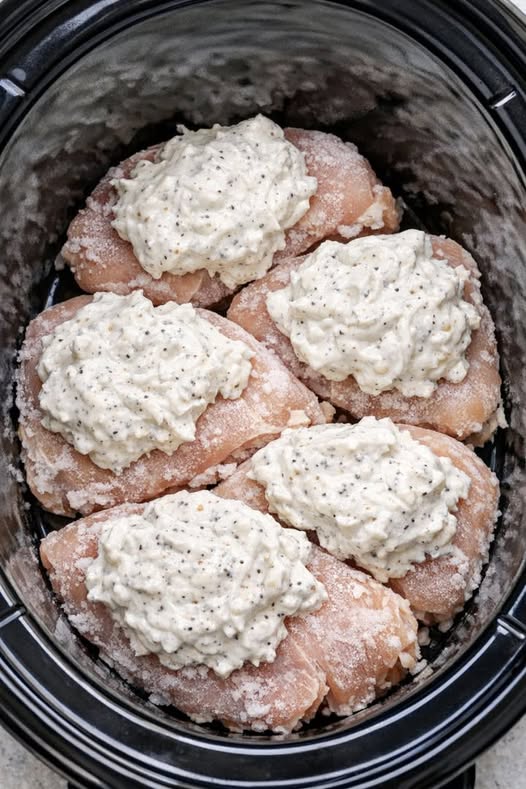
Introduction There’s something truly comforting about a slow-cooked meal. This 5-Ingredient Slow Cooker Retro Cream Chicken is the epitome of homey warmth, combining tender chicken with a rich, creamy sauce …

Introduction Welcome to a delightful culinary adventure with these Slow Cooker 3-Ingredient Ranch Beef Chops! This recipe is not just simple; it’s a hug-in-a-bowl, bringing comfort to your dinner table …
Introduction There’s something undeniably comforting about a warm dish of buttery potatoes, especially when they come straight from your slow cooker. This recipe for 5-Ingredient Slow Cooker Buttered Potatoes transforms …
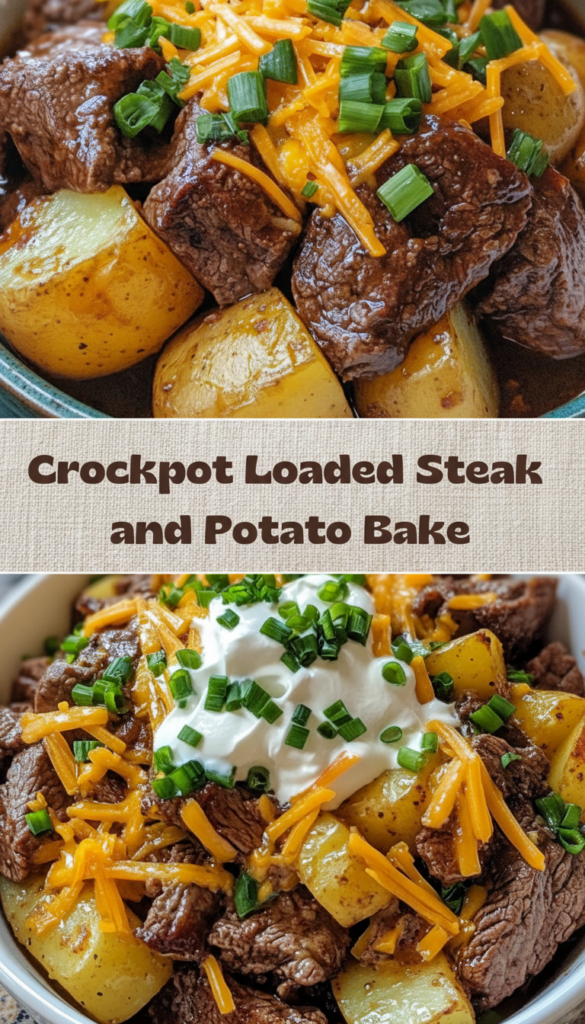
Introduction There’s something undeniably comforting about a warm, hearty meal that fills the home with delightful aromas. Enter the Crockpot Loaded Steak and Potato Bake — a dish that combines …