Turkish Bread Recipe
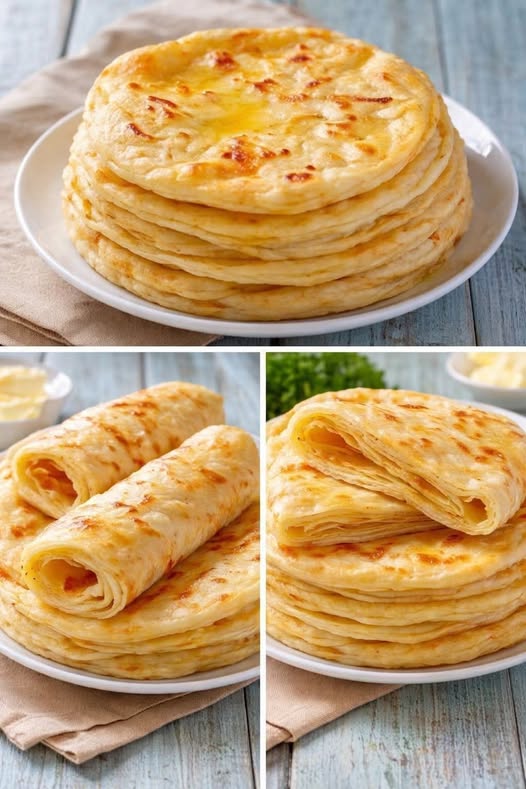
Introduction There’s nothing quite like the warm, inviting aroma of freshly baked Turkish bread wafting through your home. This delightful bread, with its soft texture and slightly crispy crust, is …

Introduction There’s nothing quite like the warm, inviting aroma of freshly baked Turkish bread wafting through your home. This delightful bread, with its soft texture and slightly crispy crust, is …

Introduction There’s something irresistibly delightful about the aroma of freshly baked bread wafting through your home. This Turkish Bread recipe offers a wonderful way to experience that magic right in …

Introduction There’s something truly magical about the smell of freshly baked bread wafting through your home. This Easy Turkish Bread recipe brings that warm comfort right to your kitchen with …